mirror of
https://github.com/qmk/qmk_firmware.git
synced 2025-02-25 00:00:51 +00:00
* Move RGBLight animations to data driven, 0-9 * Move RGBLight animations to data driven, A * Move RGBLight animations to data driven, B * Move RGBLight animations to data driven, C * Move RGBLight animations to data driven, D * Move RGBLight animations to data driven, E * Move RGBLight animations to data driven, F * Move RGBLight animations to data driven, G * Move RGBLight animations to data driven, H * Move RGBLight animations to data driven, handwired * Move RGBLight animations to data driven, I * Move RGBLight animations to data driven, J * Move RGBLight animations to data driven, K * Move RGBLight animations to data driven, L * Move RGBLight animations to data driven, M * Move RGBLight animations to data driven, N * Move RGBLight animations to data driven, O * Move RGBLight animations to data driven, P * Move RGBLight animations to data driven, Q * Move RGBLight animations to data driven, R * Move RGBLight animations to data driven, S * Move RGBLight animations to data driven, T * Move RGBLight animations to data driven, U * Move RGBLight animations to data driven, V * Move RGBLight animations to data driven, W * Move RGBLight animations to data driven, X * Move RGBLight animations to data driven, Y * Move RGBLight animations to data driven, Z * Fix incorrect placement * Fix build failures and mismatches |
||
|---|---|---|
| .. | ||
| keymaps | ||
| rev1 | ||
| rev3 | ||
| config.h | ||
| info.json | ||
| loop.c | ||
| loop.h | ||
| post_config.h | ||
| readme.md | ||
| rules.mk | ||
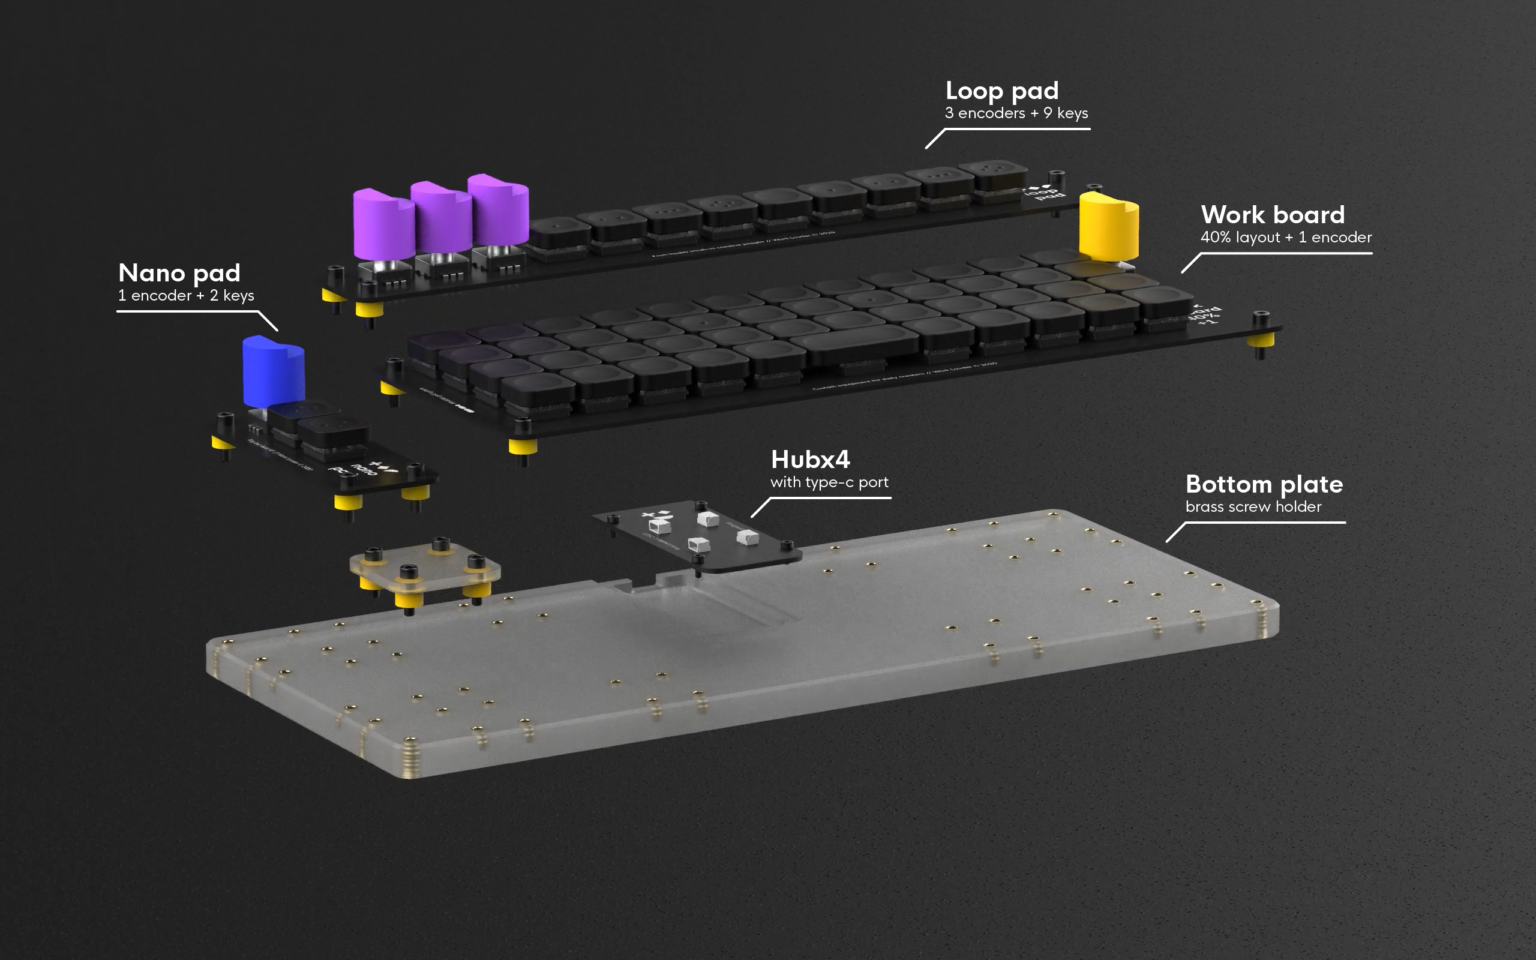
Work Louder Loop Pad
A 9 key macro pad with 3 encoders and RGB.
- Keyboard Maintainer: Work Louder
- Hardware Supported: An ATmega32u4 based macro pad with per key and underglow RGB
- Hardware Availability: Work Louder
Make example for this keyboard (after setting up your build environment):
make work_louder/loop:default
Flashing example for this keyboard:
make work_louder/loop:default:flash
Enter bootloader to flash the keyboard, you do either:
* Hold down the right most key while plugging in the keyboard
* Hold the third encoder down, and hit the first encoder
See the build environment setup and the make instructions for more information. Brand new to QMK? Start with our Complete Newbs Guide.
