mirror of
https://github.com/qmk/qmk_firmware.git
synced 2024-11-27 05:36:52 +00:00
* added keyboard jj4x4, a shorter version of the jj40

* removed useless file

* edited jj4x4 readme.md

* optimized array size in jj4x4 config.h, removed reference to jj40 layouts from rules.mk

* removed custom matrix for this ps2avrgb board, refactored column and row pins
72 lines
3.7 KiB
Markdown
72 lines
3.7 KiB
Markdown
# jj4x4
|
|
|
|

|
|
|
|
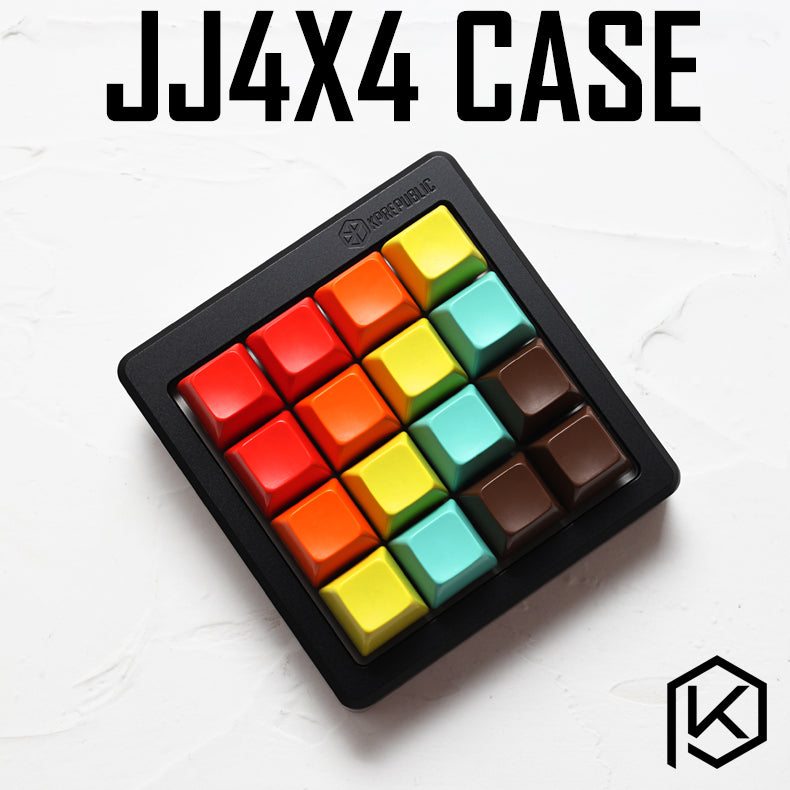
A 4x4 keypad kit made and KPRepublic on AliExpress. This is a chopped off version of the jj40 with rearranged keys.
|
|
|
|
Keyboard Maintainer: [QMK Community](https://github.com/qmk)
|
|
Hardware Supported: Atmega32A
|
|
Hardware Availability: [AliExpress](https://www.aliexpress.com/item/jj4x4-jj4X4-16-keys-Custom-Mechanical-Keyboard-PCB-programmed-numpad-layouts-bface-firmware-with-rgb-bottom/32901955446.html?spm=2114.search0104.3.7.3ebf431ae1d9ic&ws_ab_test=searchweb0_0,searchweb201602_4_10065_10130_10068_10547_319_317_10548_10545_10696_453_10084_454_10083_433_10618_431_10307_537_536_10902_10059_10884_10887_321_322_10103,searchweb201603_6,ppcSwitch_0&algo_expid=9d1891dd-80af-4793-a889-5a62e1fdfdd8-1&algo_pvid=9d1891dd-80af-4793-a889-5a62e1fdfdd8&transAbTest=ae803_5)
|
|
|
|
Make example for this keyboard (after setting up your build environment):
|
|
|
|
make jj4x4:default:program
|
|
|
|
See [build environment setup](https://docs.qmk.fm/#/getting_started_build_tools) then the [make instructions](https://docs.qmk.fm/#/getting_started_make_guide) for more information.
|
|
|
|
Note that this is a complete replacement for the firmware, so you won't be
|
|
using Bootmapper Client to change any keyboard settings, since not all the
|
|
USB report options are supported.
|
|
|
|
In addition you may need the AVR toolchain and `bootloadHID` ([GitHub repo](https://github.com/whiteneon/bootloadHID)) for flashing:
|
|
|
|
For macOS:
|
|
```
|
|
$ brew cask install crosspack-avr
|
|
$ brew install --HEAD https://raw.githubusercontent.com/robertgzr/homebrew-tap/master/bootloadhid.rb
|
|
```
|
|
|
|
For Linux:
|
|
```
|
|
$ sudo apt install libusb-dev
|
|
$ wget https://www.obdev.at/downloads/vusb/bootloadHID.2012-12-08.tar.gz
|
|
$ tar -xzf bootloadHID.2012-12-08.tar.gz
|
|
$ cd bootloadHID.2012-12-08/commandline
|
|
$ make
|
|
$ sudo cp bootloadHID /usr/bin
|
|
```
|
|
|
|
In order to use the `./program` script, which can reboot the board into
|
|
the bootloader, you'll need Python 2 with PyUSB installed:
|
|
|
|
```
|
|
$ pip install pyusb
|
|
```
|
|
|
|
If you prefer (or are having issues with a `program` flash), you can just build it (`make jj40:<keymap-name>` and flash the firmware (`.hex` file) directly with
|
|
`bootloadHID` if you boot the board while holding down `8` (second from top, second from left, with usb plug is at the top) to keep it
|
|
in the bootloader:
|
|
|
|
```
|
|
$ make jj40
|
|
$ bootloadHID -r jj4x4_default.hex
|
|
```
|
|
|
|
For Windows 10:
|
|
Windows sometimes doesn't recognize the jj4x4. The easiest way of flashing a new layout is probably using [HIDBootFlash](http://vusb.wikidot.com/project:hidbootflash).
|
|
1. Go to Windows Device Manager and find the keyboard (plug it in while holding down `8` (second from top, second from left, with usb plug is at the top)). It can be found under Human Interface Devices or under Keyboards.
|
|
2. Go to properties and the Details tab to find the hardware ID. You want the VID and the PID (code after the underscore). Plug them into HIDBootFlash and hit Find Device.
|
|
3. Use `make jj4x4:<keymap-name>` to generate the .hex file in the qmk basis folder. Select the .hex file in HIDBootFlash and press Flash Device.
|
|
|
|
|
|
## Troubleshooting
|
|
|
|
1. Try plugging the board in while pressing `8` (usb plug at top, second from top, second from left). This will force it
|
|
to boot only the bootloader without loading the firmware. Once this is
|
|
done, just reflash the board with the original firmware.
|
|
2. Sometimes USB hubs can act weird, so try connecting the board directly
|
|
to your computer or plugging/unplugging the USB hub.
|
|
3. If you get an error such as "Resource Unavailable" when attemting to flash
|
|
on Linux, you may want to compile and run `tools/usb_detach.c`. See `tools/README.md`
|
|
for more info.
|